FTTC (up to 80Mb), FTTP (up to 1GB), Leased lines, VoIP from £6/ month, Security software, Office 365, Email etc.
When you need value for money and quality of service without the drama phone 028 8283 1111
Select a quick link > Control panel - Rise a ticket - Remote assistance
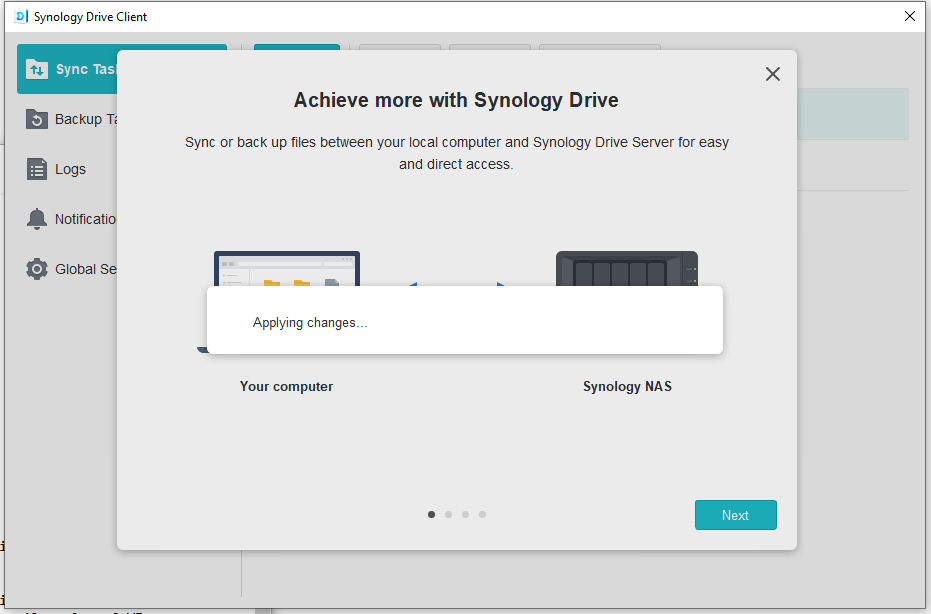
Drive Sync Client Installation
What is Drive sync?
Drive Sync is used to synchronise a folder between a remote (internet connected) computer and a folder on a Synology NAS. Access is controlled by username and password. Storage capacity is realistically limited only by the maximum available capacity of the smallest device to be connected. For example let’s say you are connecting a laptop with only 40GB of available space, then that is the limit for everyone.
When the remote device is connected, it synchronises all files in the appropriate folder on the NAS with a folder on itself. The files may be edited locally and when saved, they automatically upload to the NAS. The NAS then sends the updated file to the other connected devices – similar to OneDrive and DropBox etc.
How to install Synology Drive Client on a remote PC
Before proceeding, you will need the web address or static IP of the NAS, your log on username and log on password. You will also need to know the model number of the NAS you will be connecting to. The Synology NAS will need to be configured in advance for the remote connection.
Create an empty folder on your remote PC for the shared files to download into.
Use your windows browser to create a folder on your PC to store the files to be downloaded from the Synology NAS. I would recommend keeping a short path to the folder so something like ‘C:\London’ would be ideal.
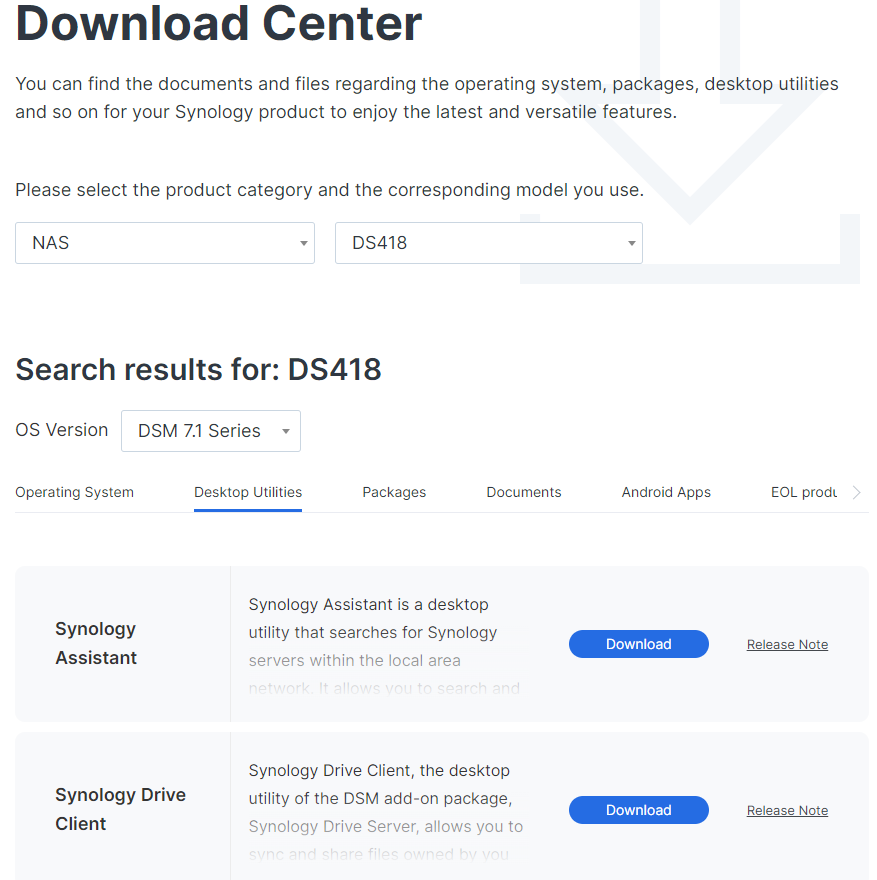
Download Synology Drive Client from ‘here‘. Select NAS, select the model from the pull down list (in our example we use the DS418).
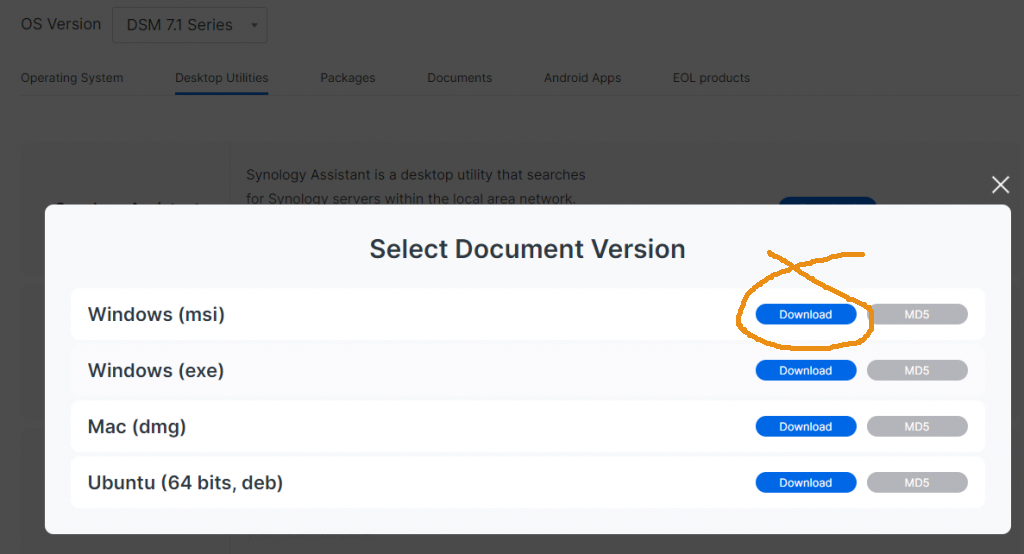
Download Synology Drive Client
Download ‘Synology Drive Client” as in the above pic and select Windows (msi) if you are using a Windows PC.
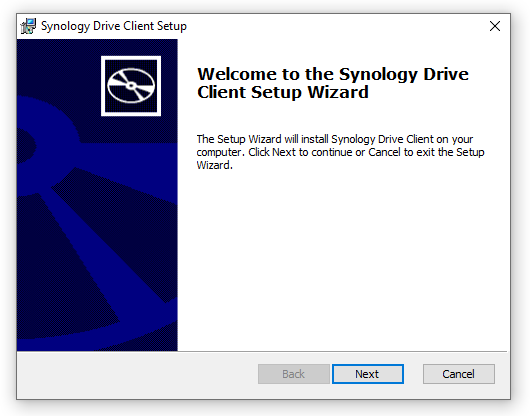
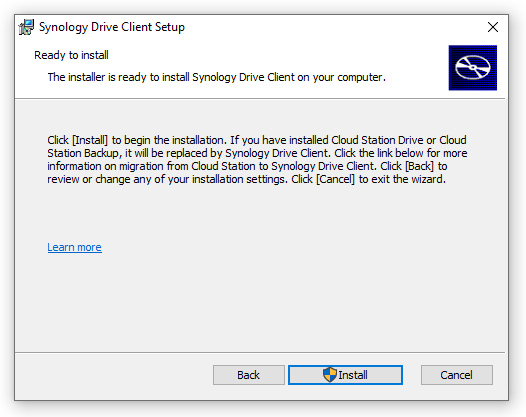
Install Synology Drive Client
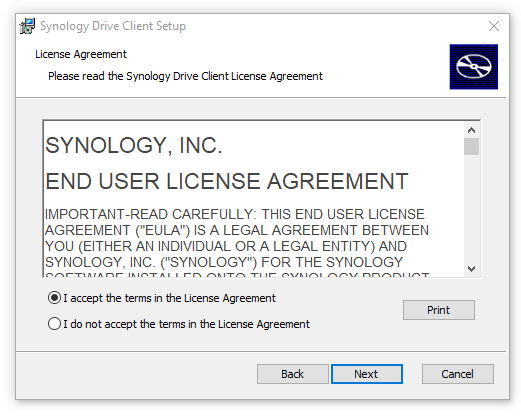
You may get an authentication warning which you can ignore and proceed.
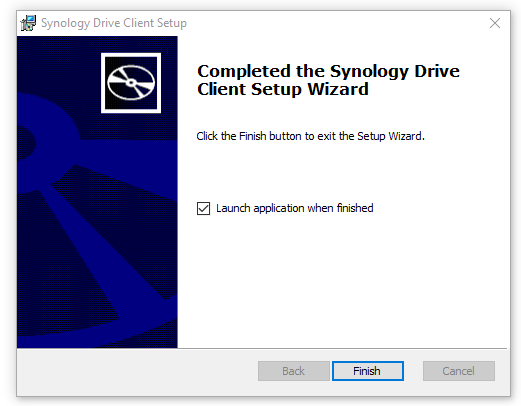
Run Synology Drive Client
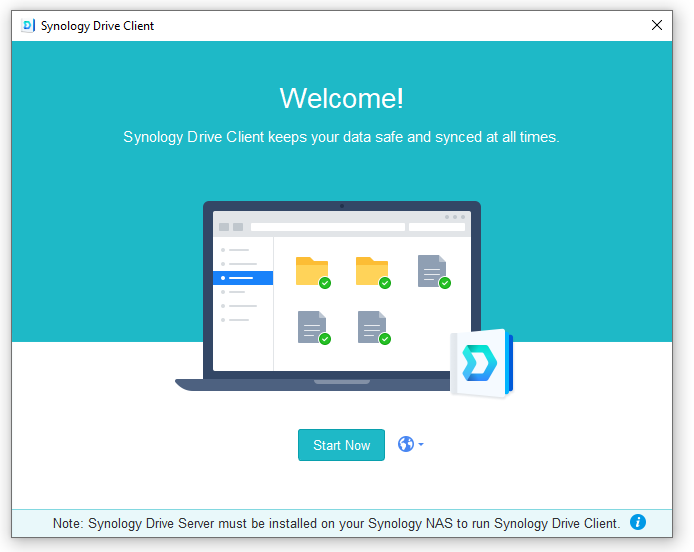
If this page doesn’t fairly quickly show up, just run ‘Synology Drive Client’ from the desktop.
Configure Synology Drive Client

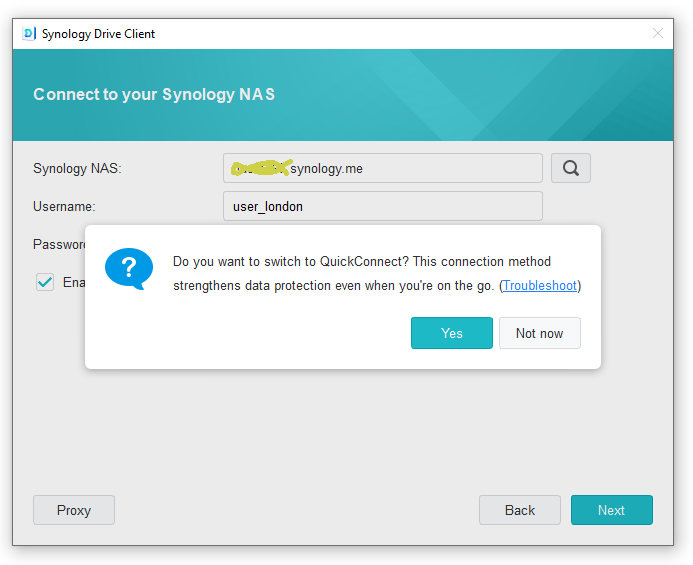
You should have your credentials from your administrator here. Synology NAS: Here you enter either the web address of your Synology NAS.
The web address my be in the format: belfast-nas49.synology.me
Or it may be in the format of an IP e.g. 123.45.67.89
Then enter your username and password select ‘Next’.
Crating the Sync task on your PC.
Firstly, you must make sure you have a folder on your PC prepared. In our example, we have created a folder called C:\London on the PC in the remote location. This is to match a shared folder on the NAS called ‘London’.

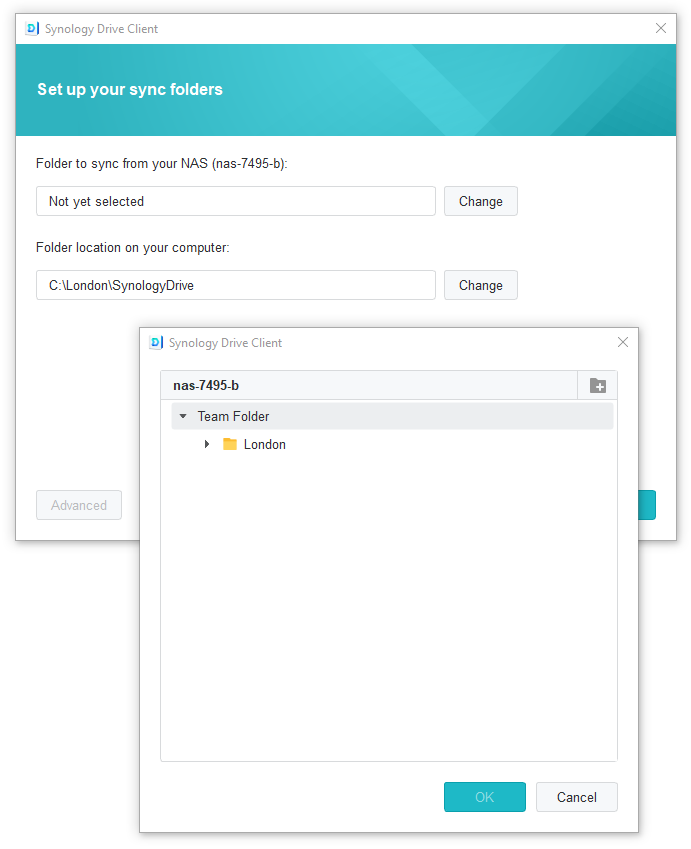
In the above pic, you can see where to select the folder on the remote NAS. In this example, the London folder is a sub folder of the Team Folder. In the above example we select ‘London’.
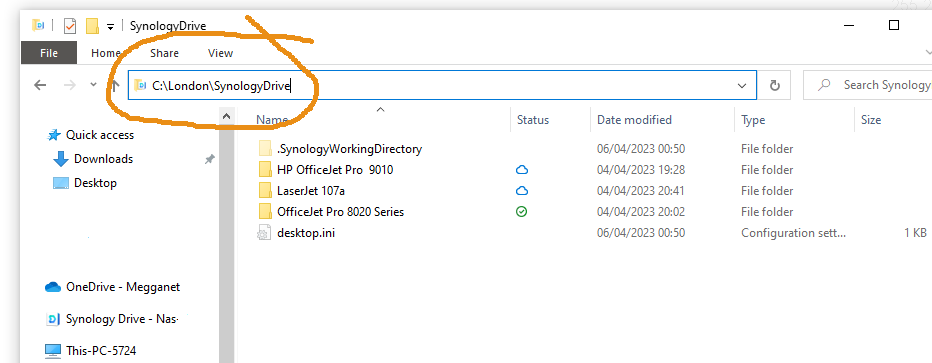
Now select the folder on your PC for synchronizing your data. The default folder is usually ‘C:\Users\username\SynologyDrive’. Change this to ‘C:\’ to make it easier to find the ‘SynologyDrive’ folder. The folder in this example is C:\London\SynologyDrive and the data will be saved there.
Once you have entered both, simply press ‘OK’ to proceed.
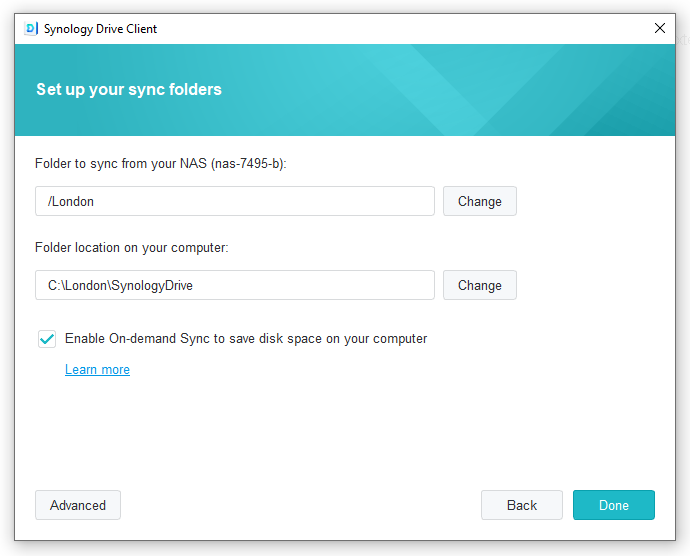
Check everything as above and select ‘Done’ to proceed.
At the above position, you can select the X at the top right of the screen to close it.
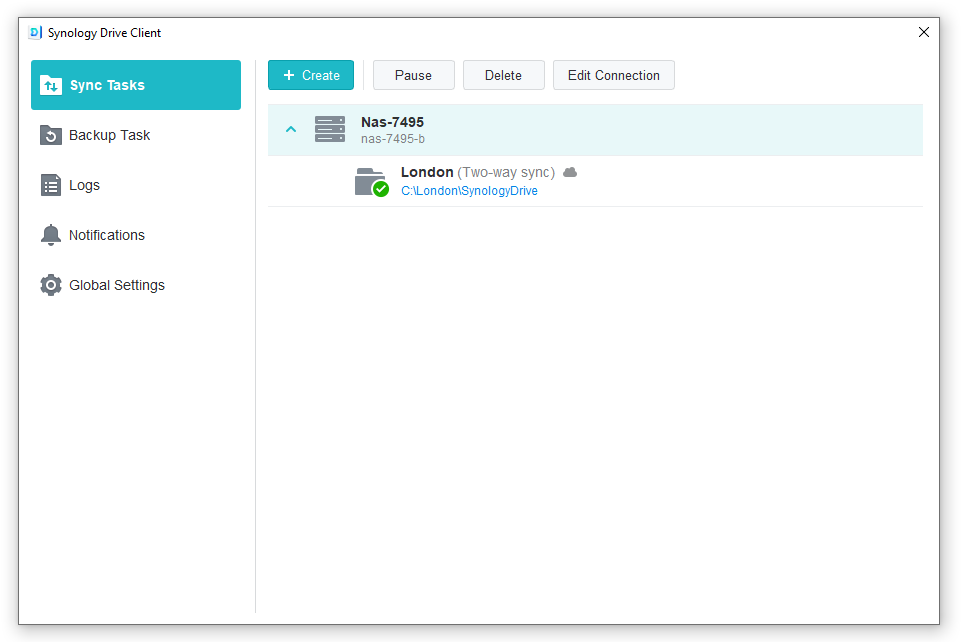
From this point on, everything you store in the ‘C:\London\SynologyDrive’ folder will be synced with the corresponding folder on the NAS.
You can exit out of the Synology Drive Client window as the program will continue to sync your data in the background.
If the London folder is available to anyone else, they may also load/create, Edit and Save data to this folder.
CAUTION, it is possible for more than one person to open the same document at the same time. If both users make different changes and save the document, the last one saved will overwrite the previous one and part of the document may get lost.
If this folder is to be made available to users on the same network then they should be able to without needing to use ‘Synology Drive Sync’.
We are here to help our clients get this system up and running so, if you get stuck, do give Megganet a call.