FTTC (up to 80Mb), FTTP (up to 1GB), Leased lines, VoIP from £6/ month, Security software, Office 365, Email etc.
When you need value for money and quality of service without the drama phone 028 8283 1111
Select a quick link > Control panel - Rise a ticket - Remote assistance
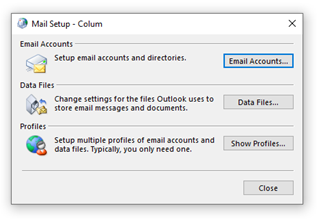
Set up on Outlook
This document is only for users who wish to set up a Hosted Exchange 2013 email account on Outlook. The pics used here are form Outlook 365, but the settings are roughly the same for different versions of Outlook.
We normally carry out this procedure for our clients and if you have any trouble, just contact me and I can use remote desktop to access your PC and carry out the installation for you.
We can’t carry out the same function on mobile devices as it is not possible to get remote desktop for them. However, the most popular instructions and settings are in the appropriate help files on headoffice.it.
Before you start, you will need your full email address and your email address password. Also, might be a good idea to verify that you are using Hosted Exchange 2013 as opposed to 2016. Phone Megganet if you wish to confirm this. Most users will be using Hosted Exchange 2016.
Megganet do not send passwords along with what the password is for, but we will send it to you by TXT to your registered mobile phone by request.
There are 2 Methods used to set up a Hosted Exchange 2013 email account in Outlook. Automatic or Manual.
Let’s go with the automatic method first.
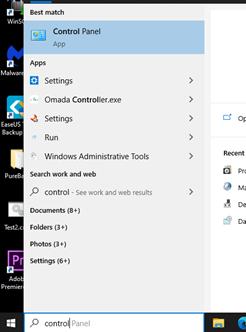
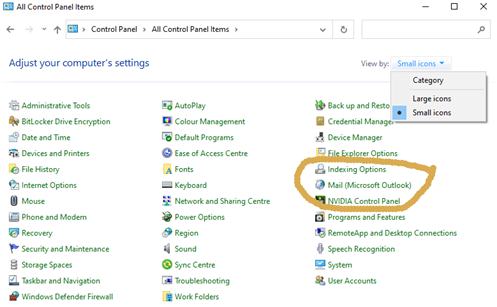
Open the Control Panel
Then select ‘Mail (Microsoft Outlook)’. As shown in the pic below. Different versions of Outlook may say something different such as ‘Mail 32’ or just ‘Mail’, but it is the same thing.
The ‘Your Name:’ section (in the pic) will be the text displayed in the recipient’s outlook when they receive email from you.
You could enter your name followed by your company name if you wish or you could just enter your email address here.
The ‘Email Address:’ is the full email address. No spaces or special characters. Email addresses are not case sensitive.
Then Enter your password twice. Passwords are exact and are case sensitive.
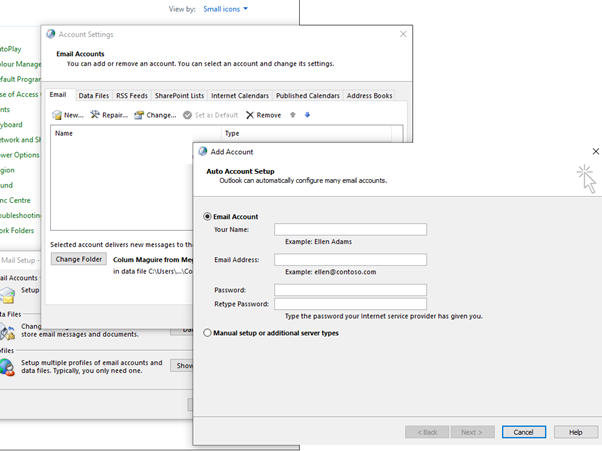
When you have filled in all the boxes, select ‘Next >’.
This part may take a few minutes, but it usually works eventually.
If you are prompted to allow redirection click Allow and ‘Don’t ask me about this website again if you do not want to see further messages.
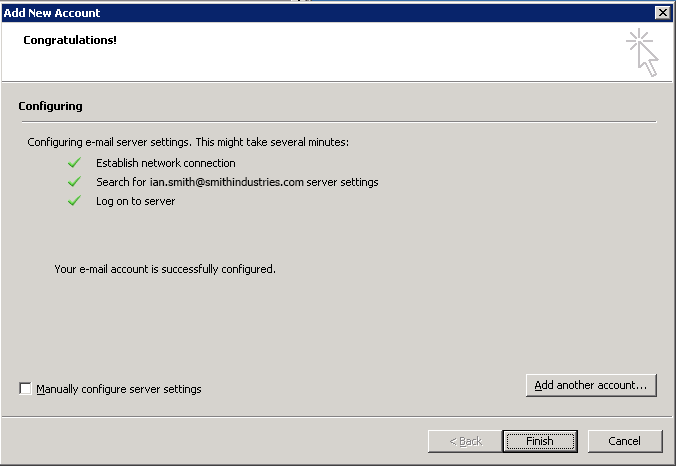
If the details provided are correct and Autodiscover has been set-up correctly then you will see the confirmation screen.
Select Finish when profile creation is completed.
If you get an error, it may be because of an Autodiscover error in Windows. The fix involves downloading a registry file and applying it.
Go to our Downloads section and download and run the fix. Apply the fix, restart the PC, and retry start the process.